Inchies are a piece of art. Hence there is no right or wrong way to create them. Inchies are a great way to express yourself or to create cards or pictures, collages or any kind of decoration you can think of.
What is an inchie?
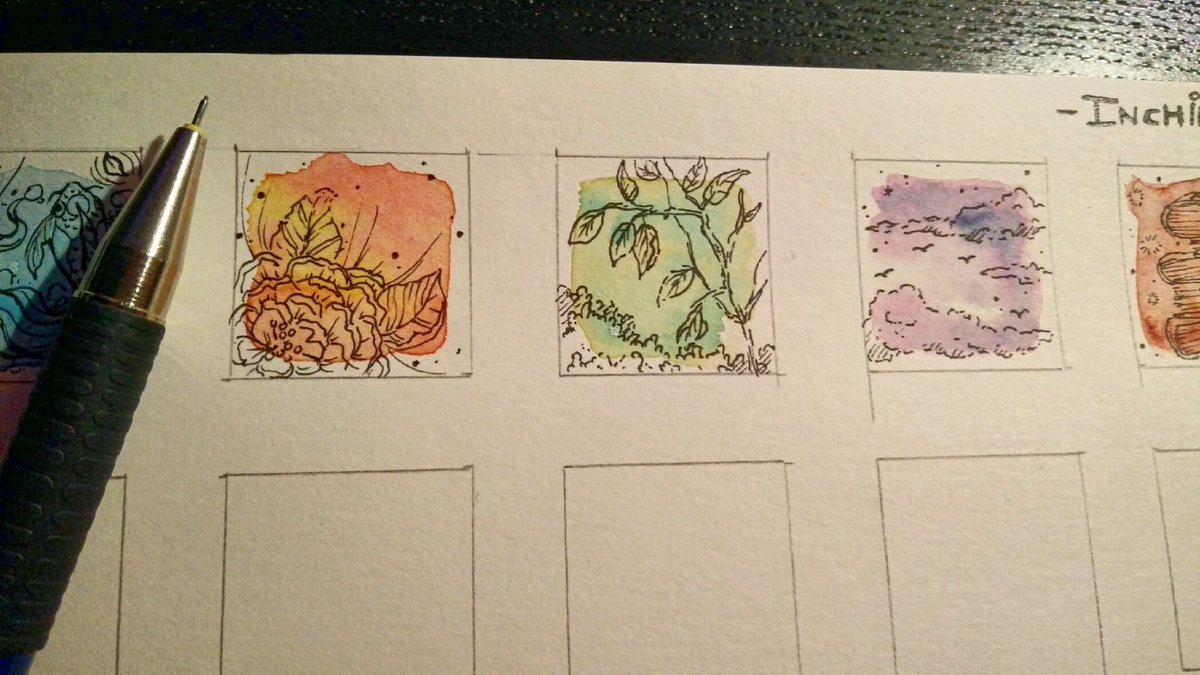
An inchie is a small square usually made of paper or cardstock one by one inches wide.
Inchie art usually involves all kinds of material. You may use whatever rests in your junk drawer, anything that lives in your office supplies and even in your kitchen (noodles, rice, spices, bags, chocolate paper, etc.).
How To Make Inchies
First you cut a 1×1 inch piece of preferably cardstock, paper, wood, metal, felt or fabric.
Depending on the material you will need scissors, a cutter, a saw. There are even precut inchies, so you don’t have to worry about cutting them.
Inchies Ideas
CREATIVE INCHIES IDEAS:
Stamp the surface of the inchie.
Ink the edges of the inchie using inkpads.
Colored paper as background of the inchie or layered on top of them.
Punch shapes out of colored paper or other materials to embellish the inchie.
Use foam tape to attach embellishements to the inchies.
Use foam tape to attach the inchies to the surface.
Create inchie collages.
Trade inchies with friends, family or other artists.
Make inchies cards.
Create inchies quilts.
You can even transform your inchies into earrings or other jewelry.
Inchies look really nice in shadow boxes.
Create home decor e.g. you can put your inchies on canvas.
INCHIES MATERIAL IDEAS:
tissue paper
sawdust
paper clips
stapler
noodles
peas
peppercorns
sesame
sorghum
sand
seeds
dried flowers
glitter
perls
liquid pearls
stamps
beads
fotos
buttons
bottle caps
straw
newspaper
leaves
mini envelopes
polymer clay
laces
sowing
tags
jewelry
ribbon
Inchies Tips
Use a punch to punch out your inchies.
Use tweezers to hold on to the tiny pieces.
Build a single focal point.
Temporarily tape your inchies down to a piece of cardstock for adding the fine details. This makes working on them a lot easier.
Use a magnifying glas.
Very small writing even in block letters using a pen with a very small tip will create a great look. Additionaly you can use it for your own sentiments e.g. for inchies cards.
Use tweezers to hold the inchies and/or whatever you try to attache to them. That’s much easier than trying to get hold of the tiny pieces with your fingers.
A dashed line makes a great border and looks almost like stitching.
It’s all about the details, especially with something as tiny as an inchie. Finish up the edges with a color marker, ink or metallic colors.
Inchies don’t even have to be square and exactly 1×1 inches. They can be round or triangular, smaller or larger, with borders or frames – the sky is the limit. Now that you know how to make inchies it’s time to get started and have some fun.